Define the lettering
Decide what the words should say, how the letters should look, and whether the design needs a backing plate or mounting space. At this point you are planning geometry, not choosing printer speed.
Workflow comparison
The text to stl vs 3d printing question compares two stages, not two competing ways to make the same thing. One creates or prepares a digital shape; the other turns a prepared model into a physical object.

Choose model creation when you need editable lettering geometry. Choose printing when you already have a suitable model and need an object you can hold.
Creating raised or extruded letters does not supply a printer, material, or physical object. Even an STL file is only geometry, not instructions for a particular machine.
WorkaroundInspect the model, prepare it in slicing software, and print it on a suitable machine.
Thin strokes, disconnected dots, unsupported overhangs, and walls below a printer's practical limits can all cause trouble despite a convincing preview.
WorkaroundCheck scale and connected geometry, then review the sliced layers before committing material.
Texttostl points you toward a 3D text generator; it cannot confirm your nozzle, resin, bed adhesion, filament, or slicer settings.
WorkaroundUse your printer manufacturer's guidance and test a small version before printing a full-size piece.
A design visible in a generator is not necessarily available in the file format your slicer accepts. Available controls and downloads depend on the destination tool.
WorkaroundConfirm its current export options before designing around a particular workflow.
Follow the object through three distinct decisions: shape, print preparation, and fabrication. Each stage answers a different question.
Decide what the words should say, how the letters should look, and whether the design needs a backing plate or mounting space. At this point you are planning geometry, not choosing printer speed.
Inspect thickness, spacing, orientation, and whether every intended part is connected. If you obtain a usable model file, open it in a slicer to check dimensions and layer-by-layer results.
Only the printing stage uses a machine and material. After printing, remove supports if needed and check whether fine details, fit, and readability survived the process.
A beginner exploring letter shapes can start with a model. Someone holding an approved model can move to slicing and printing. These related guides cover common starting points.
Compare another route for building lettering when the first design workflow does not fit.
Focus on the geometry checks that matter before lettering reaches a slicer.
Follow the sequence from a text idea toward a model prepared for printing.
Treat the handoff as a checkpoint, not an automatic conversion from something on screen to something ready for a printer.
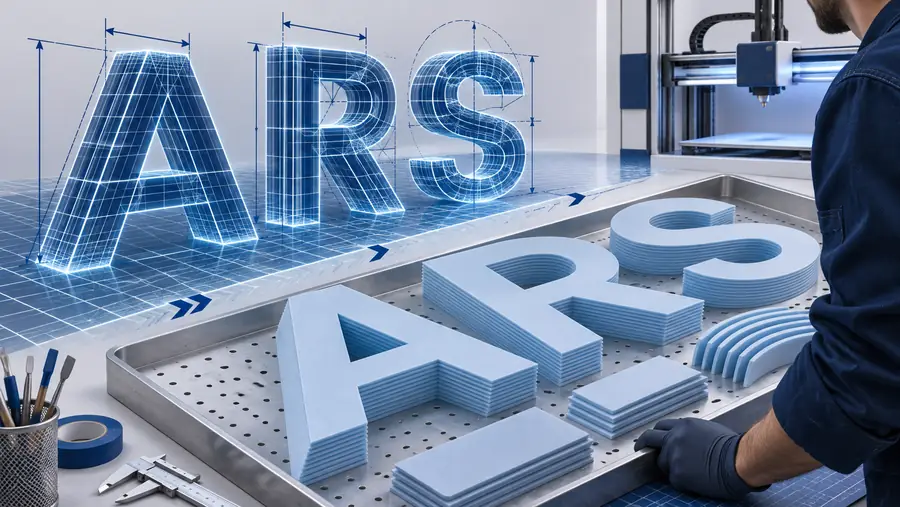
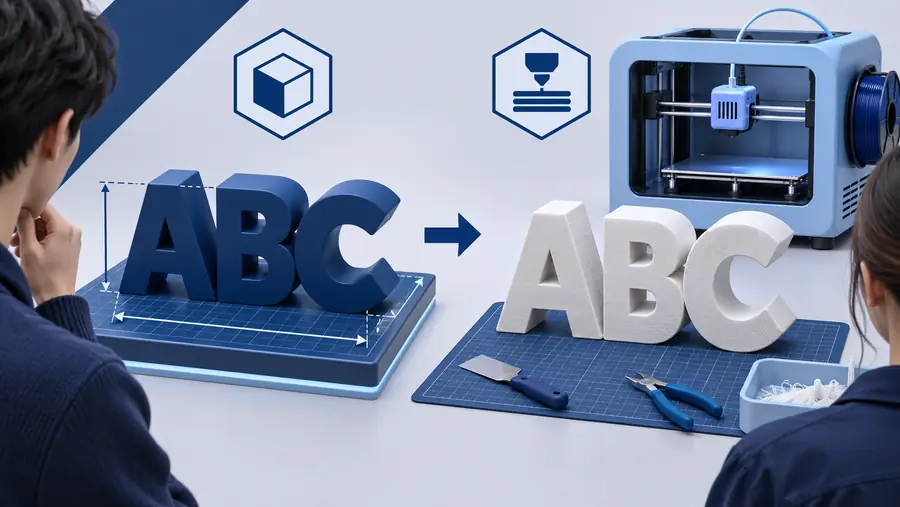
These images illustrate design stages, not a verified before-and-after print. Confirm file availability, dimensions, and sliced layers separately before using a printer.
The handoff changes with the object. A decorative word, fitted label, and wearable item may all start as text, but they call for different checks.
A short name needs a loop, a backing, and letters that remain attached during use.
Start with the shape, then check the loop and narrow strokes in the slicer before printing.
text to stl keychainRaised lettering must remain legible at its intended viewing distance and fit the available surface.
Check overall dimensions and the smallest strokes before choosing print orientation.
text to stl examples 3d printingLetters need to follow a curved surface rather than sit on a flat plaque.
Verify that the geometry actually fits the target curve; printing cannot correct a mismatched shape.
curved text stl generatorConnected script must preserve its intended letter forms and reading order.
Inspect the rendered text closely before export, then check that thin joins remain printable.
arabic text to stlThis table separates what a lettering workflow can produce from what physical fabrication requires. Neither column replaces the other.
Text-to-model stage
Digital lettering geometry or a model preview
3D-printing stage
A physical object made from a prepared design
Text-to-model stage
Words and design choices such as shape and thickness
3D-printing stage
A suitable model, machine preparation, and material
Text-to-model stage
Lettering, layout, backing, and other geometry are revised before fabrication
3D-printing stage
Orientation, supports, and machine settings are chosen for production
Text-to-model stage
Readability, scale, connected parts, and intended dimensions
3D-printing stage
Sliced layers, adhesion, supports, and machine-specific constraints
Text-to-model stage
Strokes are too thin or pieces are disconnected
3D-printing stage
A suitable design prints poorly because of setup or material issues
Text-to-model stage
A way to create and inspect a digital model
3D-printing stage
Access to a printer, material, and print-preparation software
Text-to-model stage
Confirm a usable file and inspect it in a slicer
3D-printing stage
Print a small test and evaluate the finished detail
If you have text but no model, begin by exploring a three-dimensional lettering design. Inspect the result and confirm the destination tool's current file options. Then use your own slicer and printer workflow to decide whether that design can become the physical object you want.
No. Turning text into a model creates digital geometry, while 3D printing uses a prepared model to make a physical object. Slicing and machine setup sit between those stages.
You need a model in a format your print-preparation software accepts, but that format is not always STL. Check both the design tool's available exports and your slicer's supported imports before committing to a workflow.
Yes. Thin strokes, small gaps, disconnected pieces, or unsupported features can be hard to produce even when the screen preview looks good. Check dimensions and sliced layers, then try a small test.
If letters are disconnected, too thin, or the wrong size, fix the model first. If the geometry is suitable but a test print has adhesion, support, or surface problems, investigate slicer settings and machine setup.
Yes, model design and fabrication are separate tasks. You can explore lettering and assess a design before arranging access to a printer, but check what files the design tool currently provides if you intend to print elsewhere.