Choose a real object
Decide whether the text belongs on a keychain, plant marker, number plaque, or display sign. Note the available space and how someone will view or handle it.
Project inspiration
A name keychain, a garden label, and a small sign may start with the same text to STL idea, but each needs different dimensions and support. Use these examples to choose a shape, then check the resulting model before you print.
Most lettering projects begin with a purpose, a location, and a printer. The words are only one part of the design.
Plan letter thickness, orientation, and slicer checks before committing a design to the printer.
Work through the extra decisions a name tag needs, including a base and a usable attachment hole.
Follow a practical path from a lettering concept to a model you can inspect in a slicer.
Texttostl helps you explore the lettering stage of a project. Treat any generated shape as a candidate to inspect, not a guarantee of a successful print.
Decide whether the text belongs on a keychain, plant marker, number plaque, or display sign. Note the available space and how someone will view or handle it.
Try a short name or message first. For text to STL work, favor characters and spacing that remain distinct at the size you intend to make.
Check the model in your slicer for size, connected letters, thin strokes, and support needs. Previewing layers is part of 3D printing, even when the design looks convincing on screen.
The same short word can become two very different objects. This comparison separates an idea for lettering from the decisions needed to make a handled item.
Display lettering
A short word intended to sit on a shelf.
Name keychain
A short name intended to travel on keys.
Display lettering
Be legible from its expected viewing distance.
Name keychain
Remain legible while tolerating routine handling.
Display lettering
Separate characters may be acceptable if each stands securely.
Name keychain
Characters need a shared base or reliable connections.
Display lettering
No ring opening is needed.
Name keychain
A ring opening needs sufficient material around its edge.
Display lettering
Check that the intended resting face is stable.
Name keychain
Check that the base can lie on the print bed as intended.
Display lettering
Look for unsupported details and fragile narrow strokes.
Name keychain
Also inspect the hole, base, and joins layer by layer.
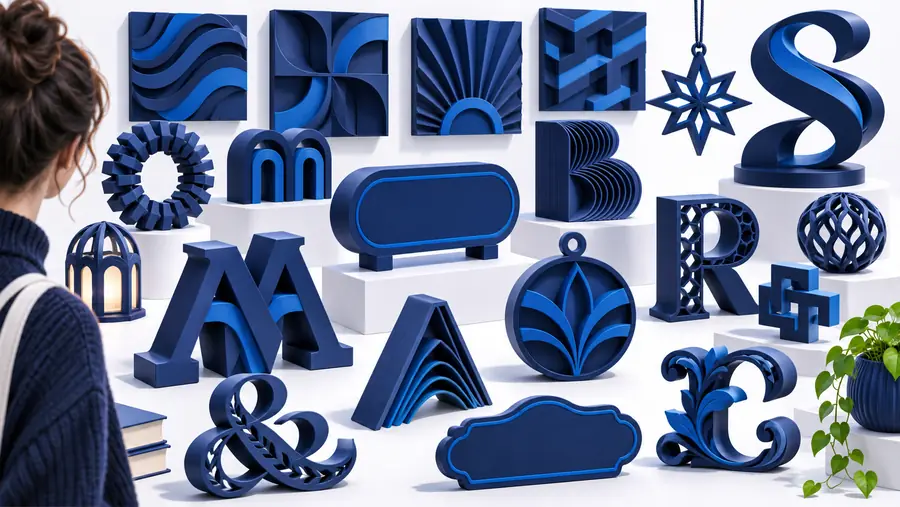
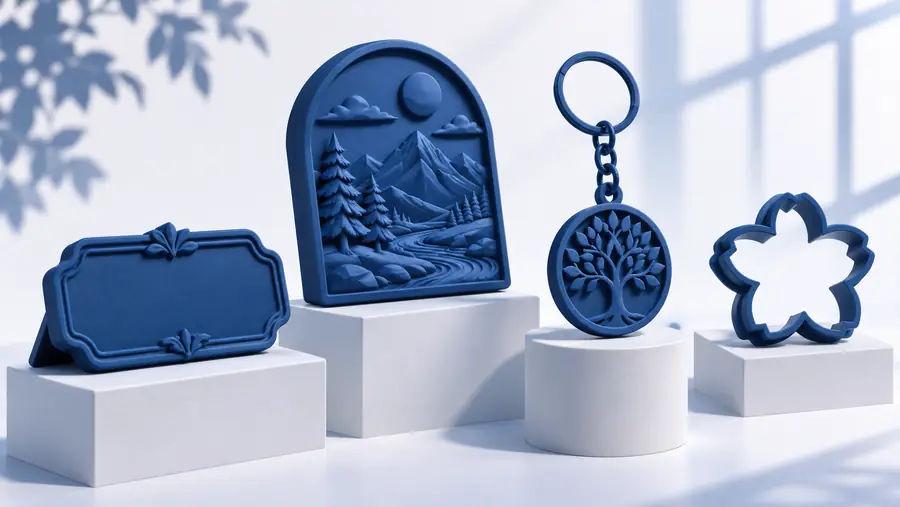
These are illustrative project images, not a documented conversion pair. For any text to STL model, confirm the available file format and inspect the actual geometry before preparing a 3D printing job.
Pick an example by its physical job rather than its appearance alone. Each project has a different failure point worth checking.
A short name becomes a keychain. Compare blocky and delicate lettering at the intended finished size; a thin flourish that looks attractive on screen may be vulnerable around a pocketful of keys.
A concept with connected characters, a deliberate base, and room for the ring opening.
text to stl keychainA plant name goes on a marker. Plan for a readable face and enough space around the letters; decide whether the lettering should rise from a plaque or form the object itself.
A label concept to size against its planting location, then check for narrow strokes in the slicer.
text to stl for 3d printingA drawer number becomes a small plaque. Start with one or two clear characters, then check whether their openings remain distinct at the planned print size.
A number plaque idea with readable characters and a mounting method to plan separately.
text to stl tutorial 3d printingStart with a short word and a clear use, such as a name for a keychain or a number for a drawer. Explore the 3D text tool, then verify what it produces and review any model in your slicer before 3D printing.
A short nameplate, a single-digit number plaque, or a simple word on a flat base gives you fewer details to inspect than a long sentence. Choose an object with a clear resting face, then use your slicer to check its size, letter shapes, and first layers.
A name is a practical starting point, but the lettering alone is not the whole keychain. The design also needs a sound way to connect the letters and an opening or attachment feature with enough surrounding material to withstand use.
A screen preview can hide strokes that are too narrow at the chosen scale, gaps that disappear in the slicer, or parts that lack support. Inspect the sliced layers and adjust the design or print setup before starting the job.
Raised lettering on a base can keep separate characters together and give the object a defined back. Freestanding letters may suit a display, but each character needs a stable shape or a way to attach it. The better choice depends on where the sign will sit and how it will be handled.